> ## Documentation Index
> Fetch the complete documentation index at: https://apidocs.writesonic.com/llms.txt
> Use this file to discover all available pages before exploring further.
# Integrating with Drupal
> This guide walks you through the process of implementing AI Bot Analytics on your Drupal website using the Writesonic AI Analytics module.
## Prerequisites
* An Active Writesonic account
* Admin access to your Drupal website
* Drupal 8.x or higher
* Composer CLI to download the module
* Drush CLI to install/uninstall the module (Optional)
## Phase 1: Start in Writesonic
1. Head over to the **AI Bot Analytics** page on Writesonic and choose ‘**Drupal**’ as provider.
2. Click ‘**Continue’** to initialize your integration
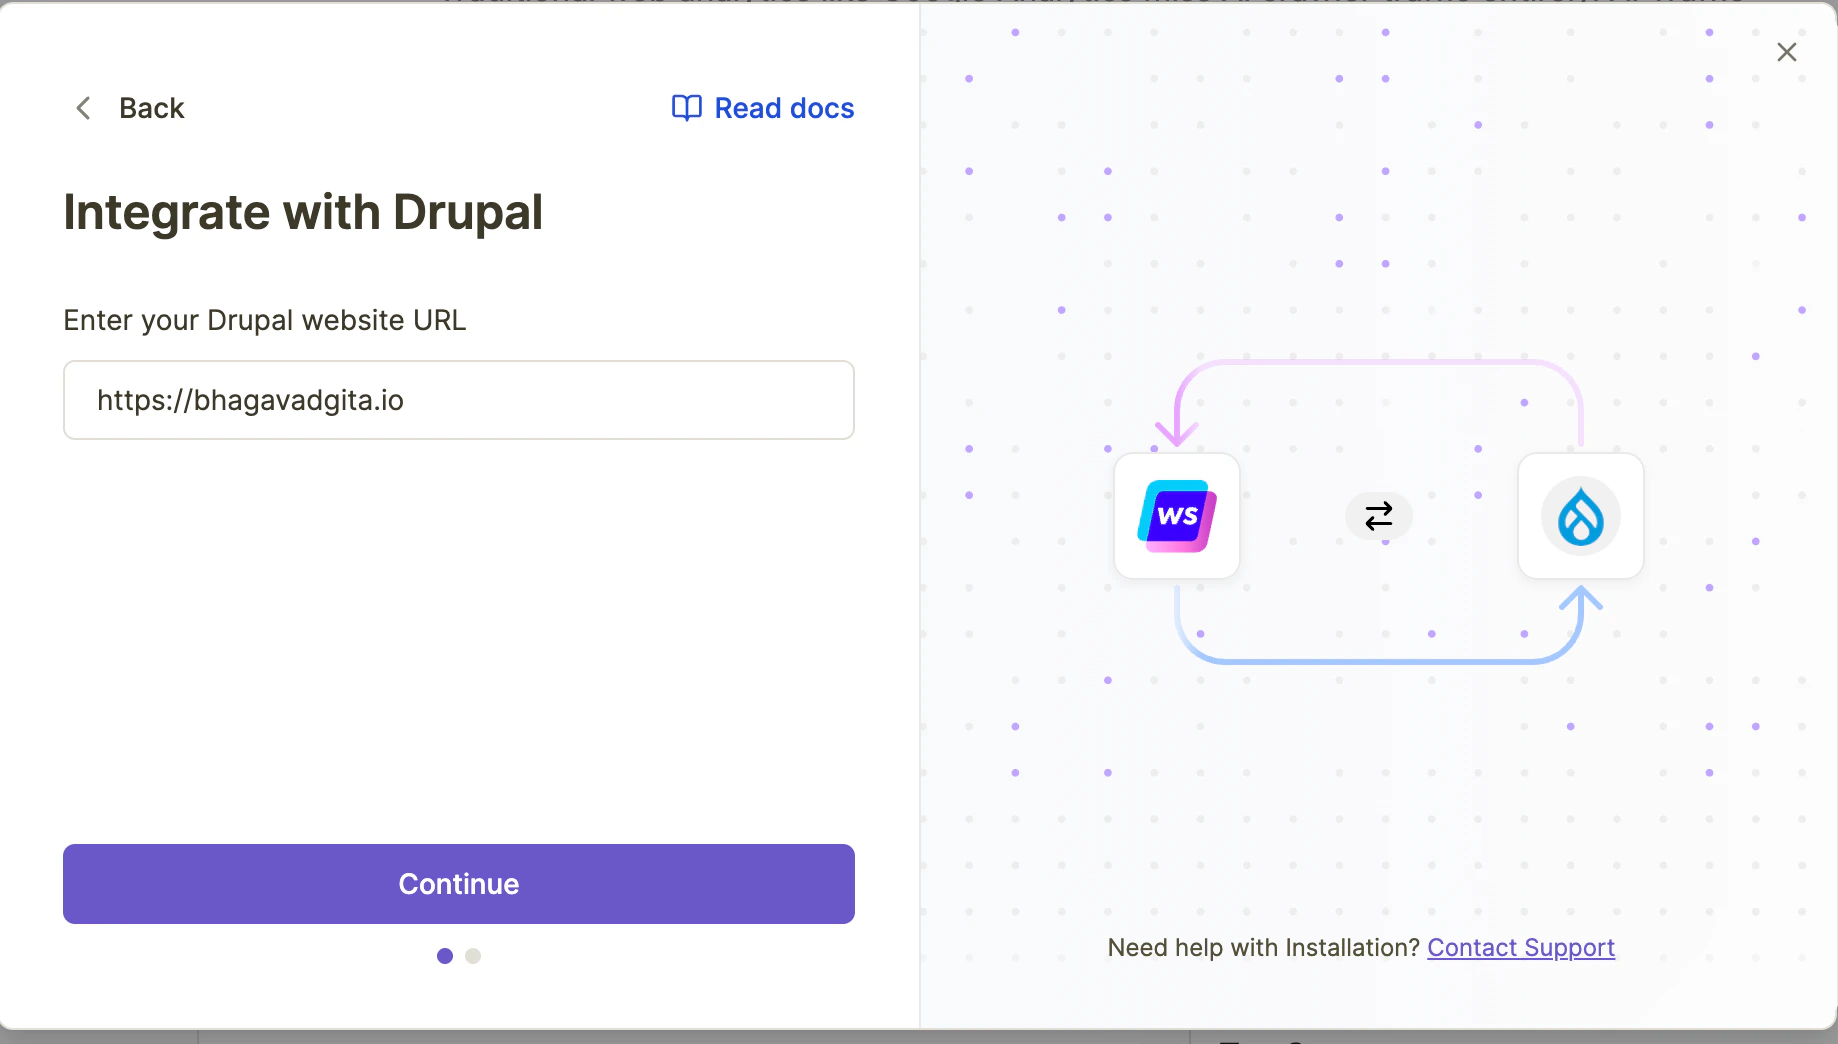 3. Writesonic will generate a unique API key for your website. Keep this page open as you'll need this API key during the module installation.
## Phase 2: Download the Drupal Module via Composer CLI
1. Open your terminal and navigate to your Drupal project root directory
2. Add this snippet to the root level composer.json, if it does not have already:
```bash bash theme={"system"}
"repositories": [
{
"type": "composer",
"url": "https://packages.drupal.org/8"
}
]
```
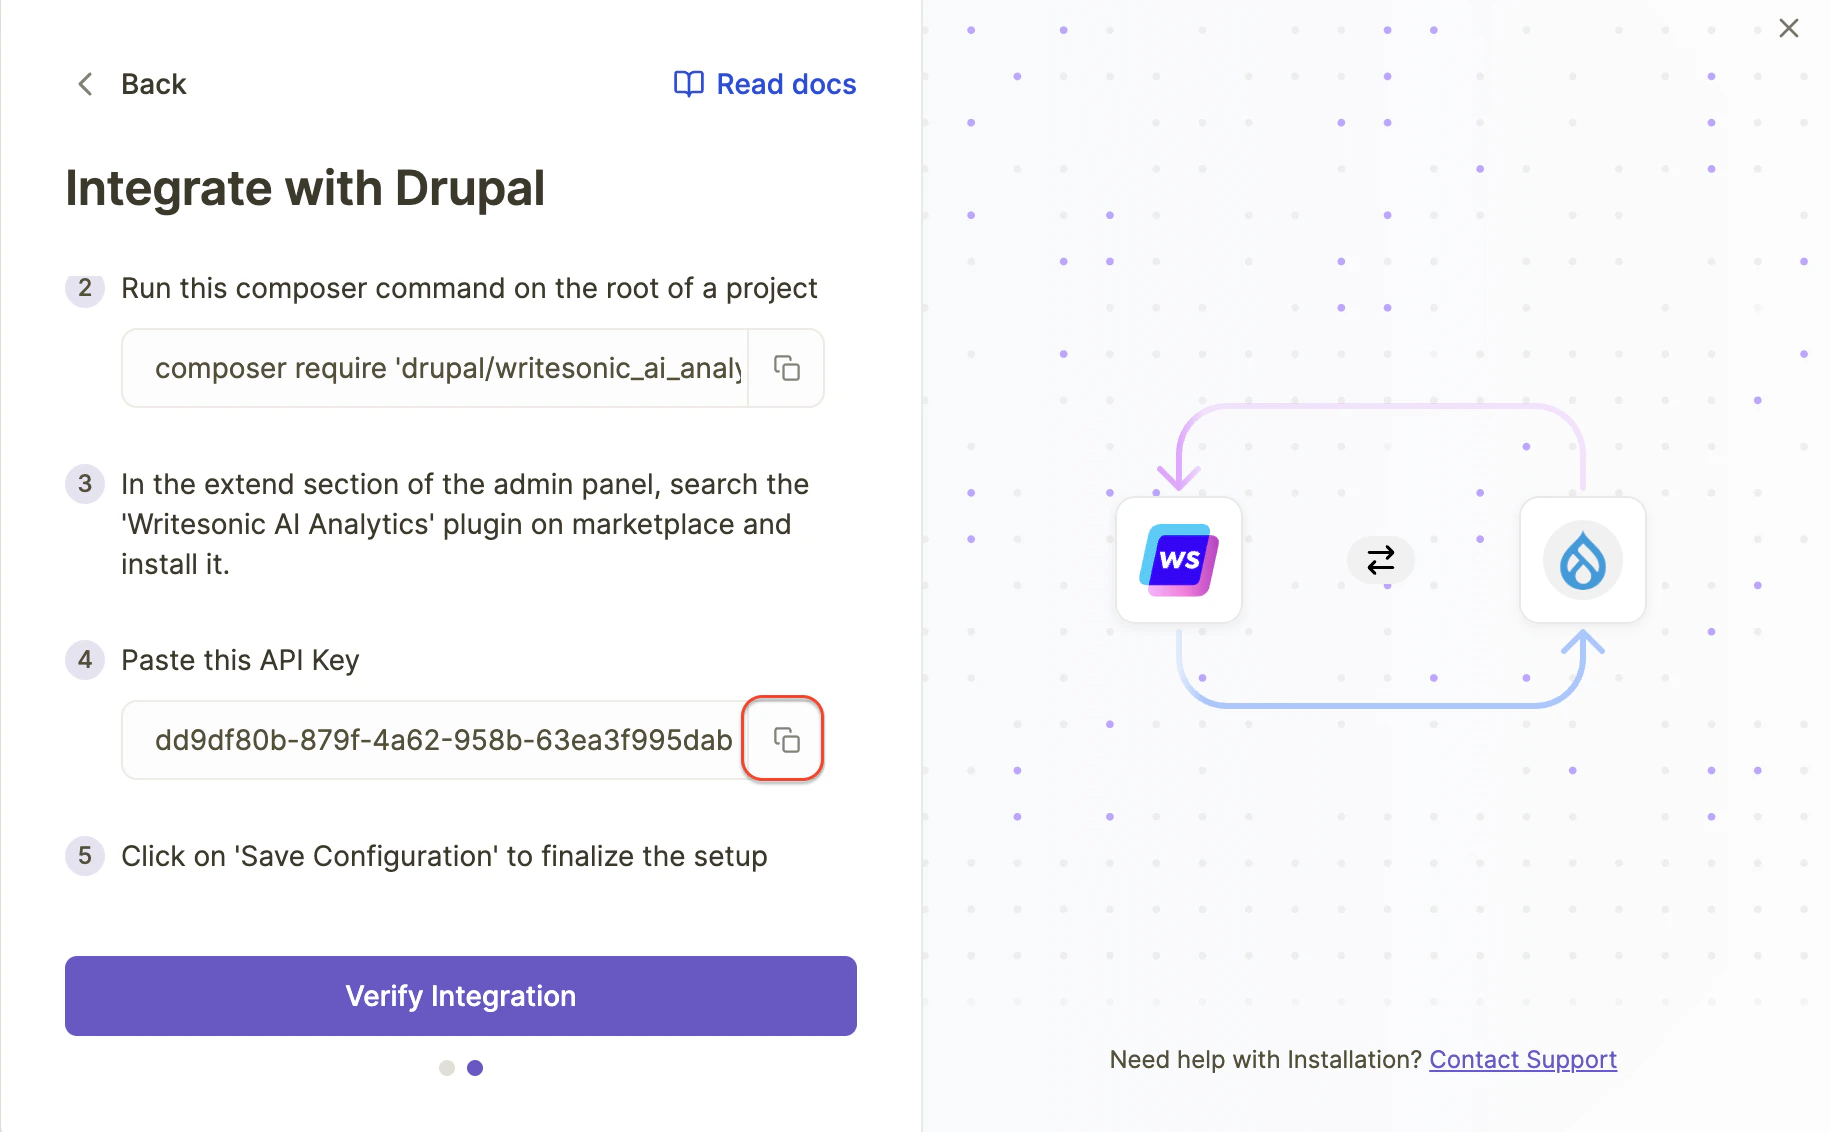
3. Run the following composer command:
```bash bash theme={"system"}
composer require 'drupal/writesonic_ai_analytics:^1.0'
```
4. Wait for the composer installation to complete
5. `writesonic_ai_analytics` module files must have been added to `*/modules/contrib` directory.
## Phase 3: Enable the Module
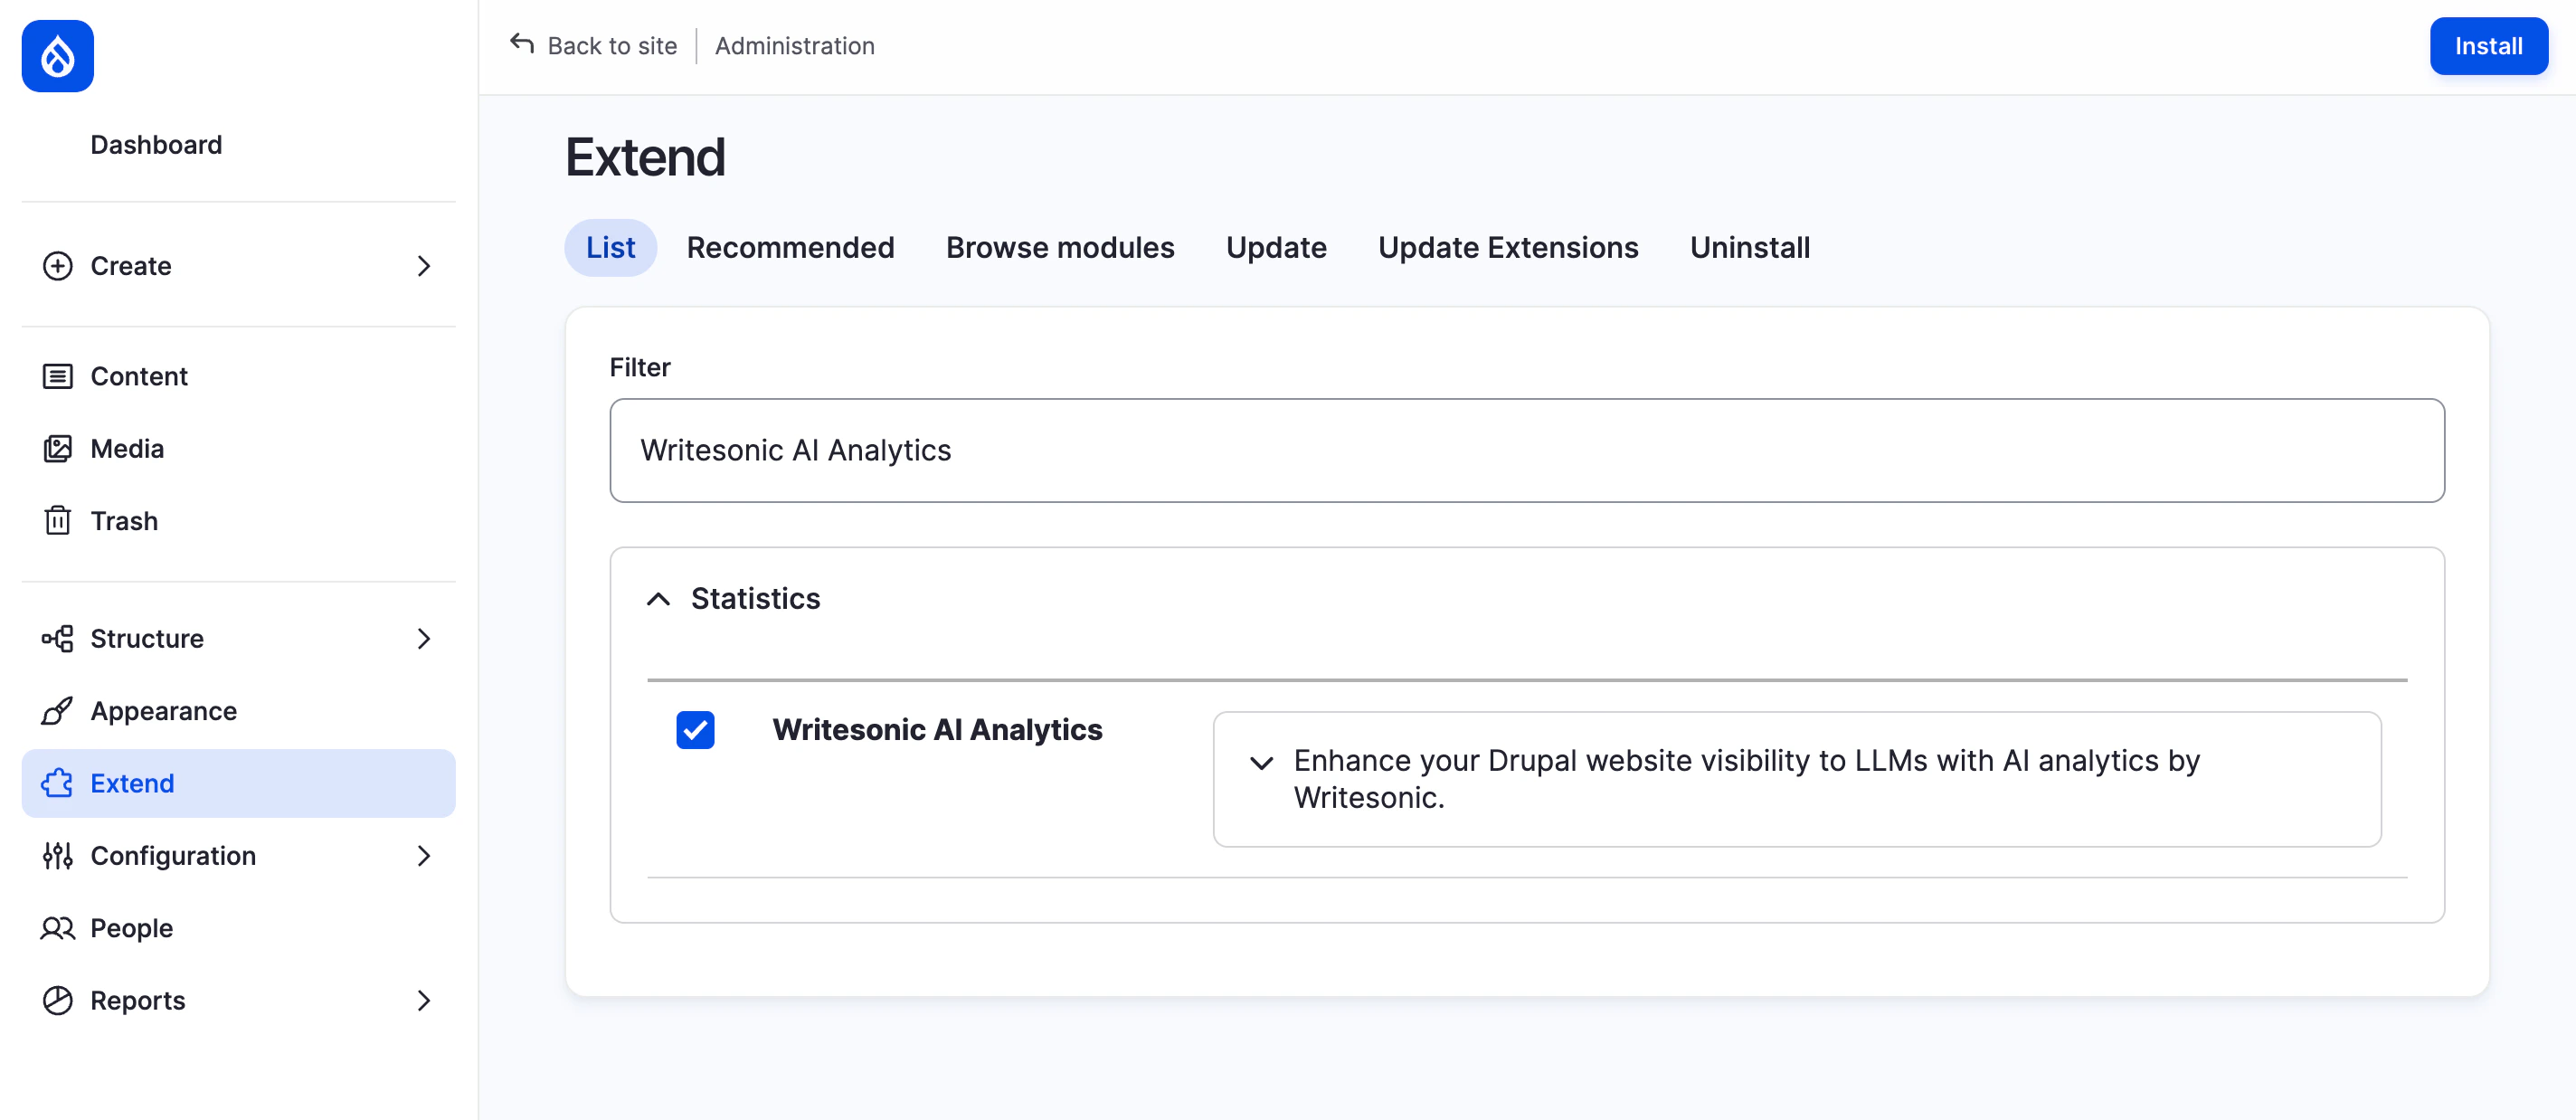
1. Log in to your Drupal admin dashboard
2. Navigate to **Extend** in the admin panel
3. Search for **'Writesonic AI Analytics'** in the dropdown list
4. Check the box next to the module and click **"Install"**
3. Writesonic will generate a unique API key for your website. Keep this page open as you'll need this API key during the module installation.
## Phase 2: Download the Drupal Module via Composer CLI
1. Open your terminal and navigate to your Drupal project root directory
2. Add this snippet to the root level composer.json, if it does not have already:
```bash bash theme={"system"}
"repositories": [
{
"type": "composer",
"url": "https://packages.drupal.org/8"
}
]
```
3. Run the following composer command:
```bash bash theme={"system"}
composer require 'drupal/writesonic_ai_analytics:^1.0'
```
4. Wait for the composer installation to complete
5. `writesonic_ai_analytics` module files must have been added to `*/modules/contrib` directory.
## Phase 3: Enable the Module
1. Log in to your Drupal admin dashboard
2. Navigate to **Extend** in the admin panel
3. Search for **'Writesonic AI Analytics'** in the dropdown list
4. Check the box next to the module and click **"Install"**
 Alternatively, you can install it via Drush CLI:
```bash bash theme={"system"}
drush en writesonic_ai_analytics
```
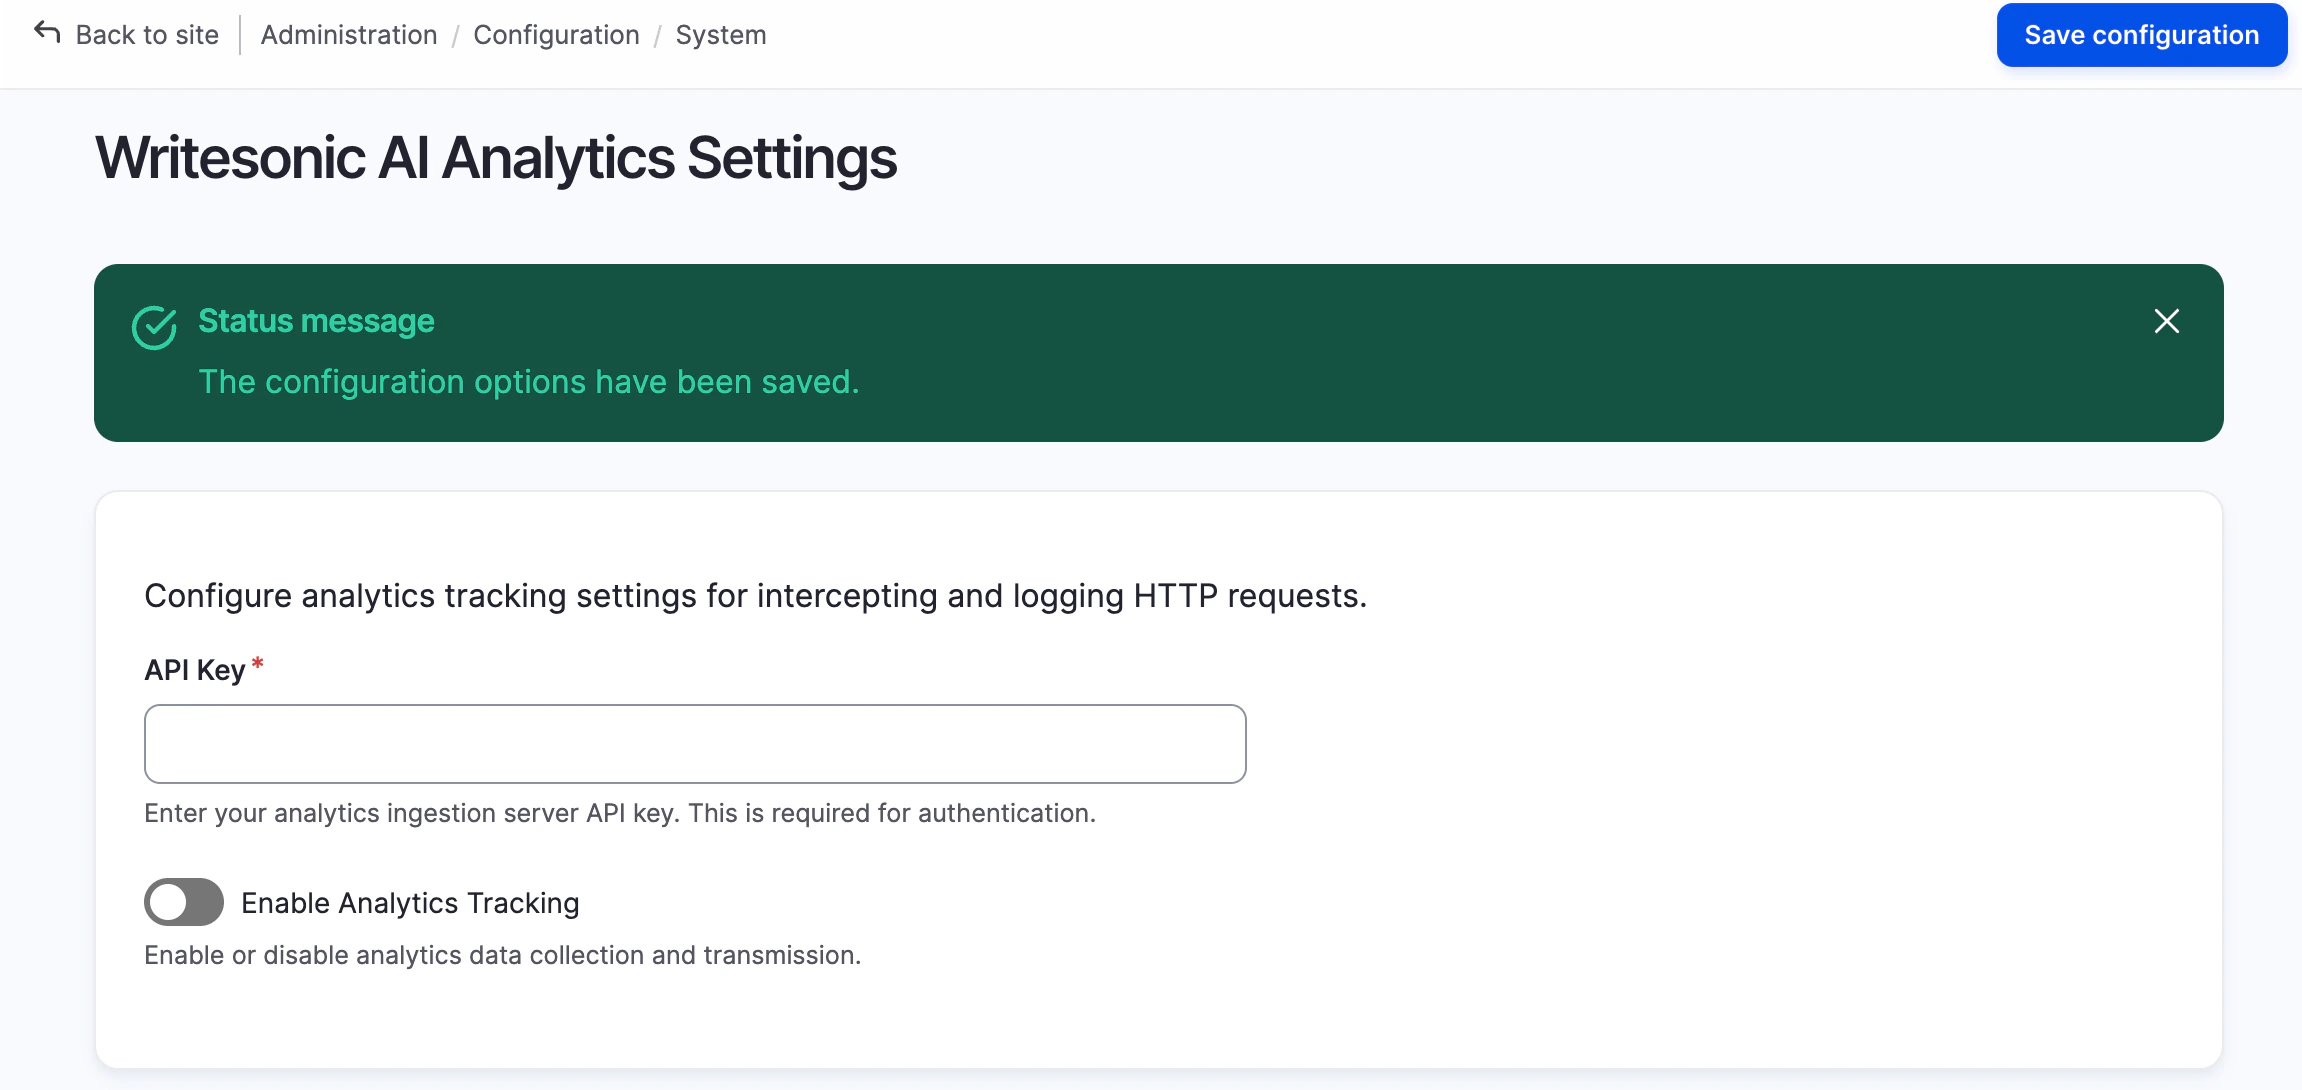
## Phase 4: Configure the Module
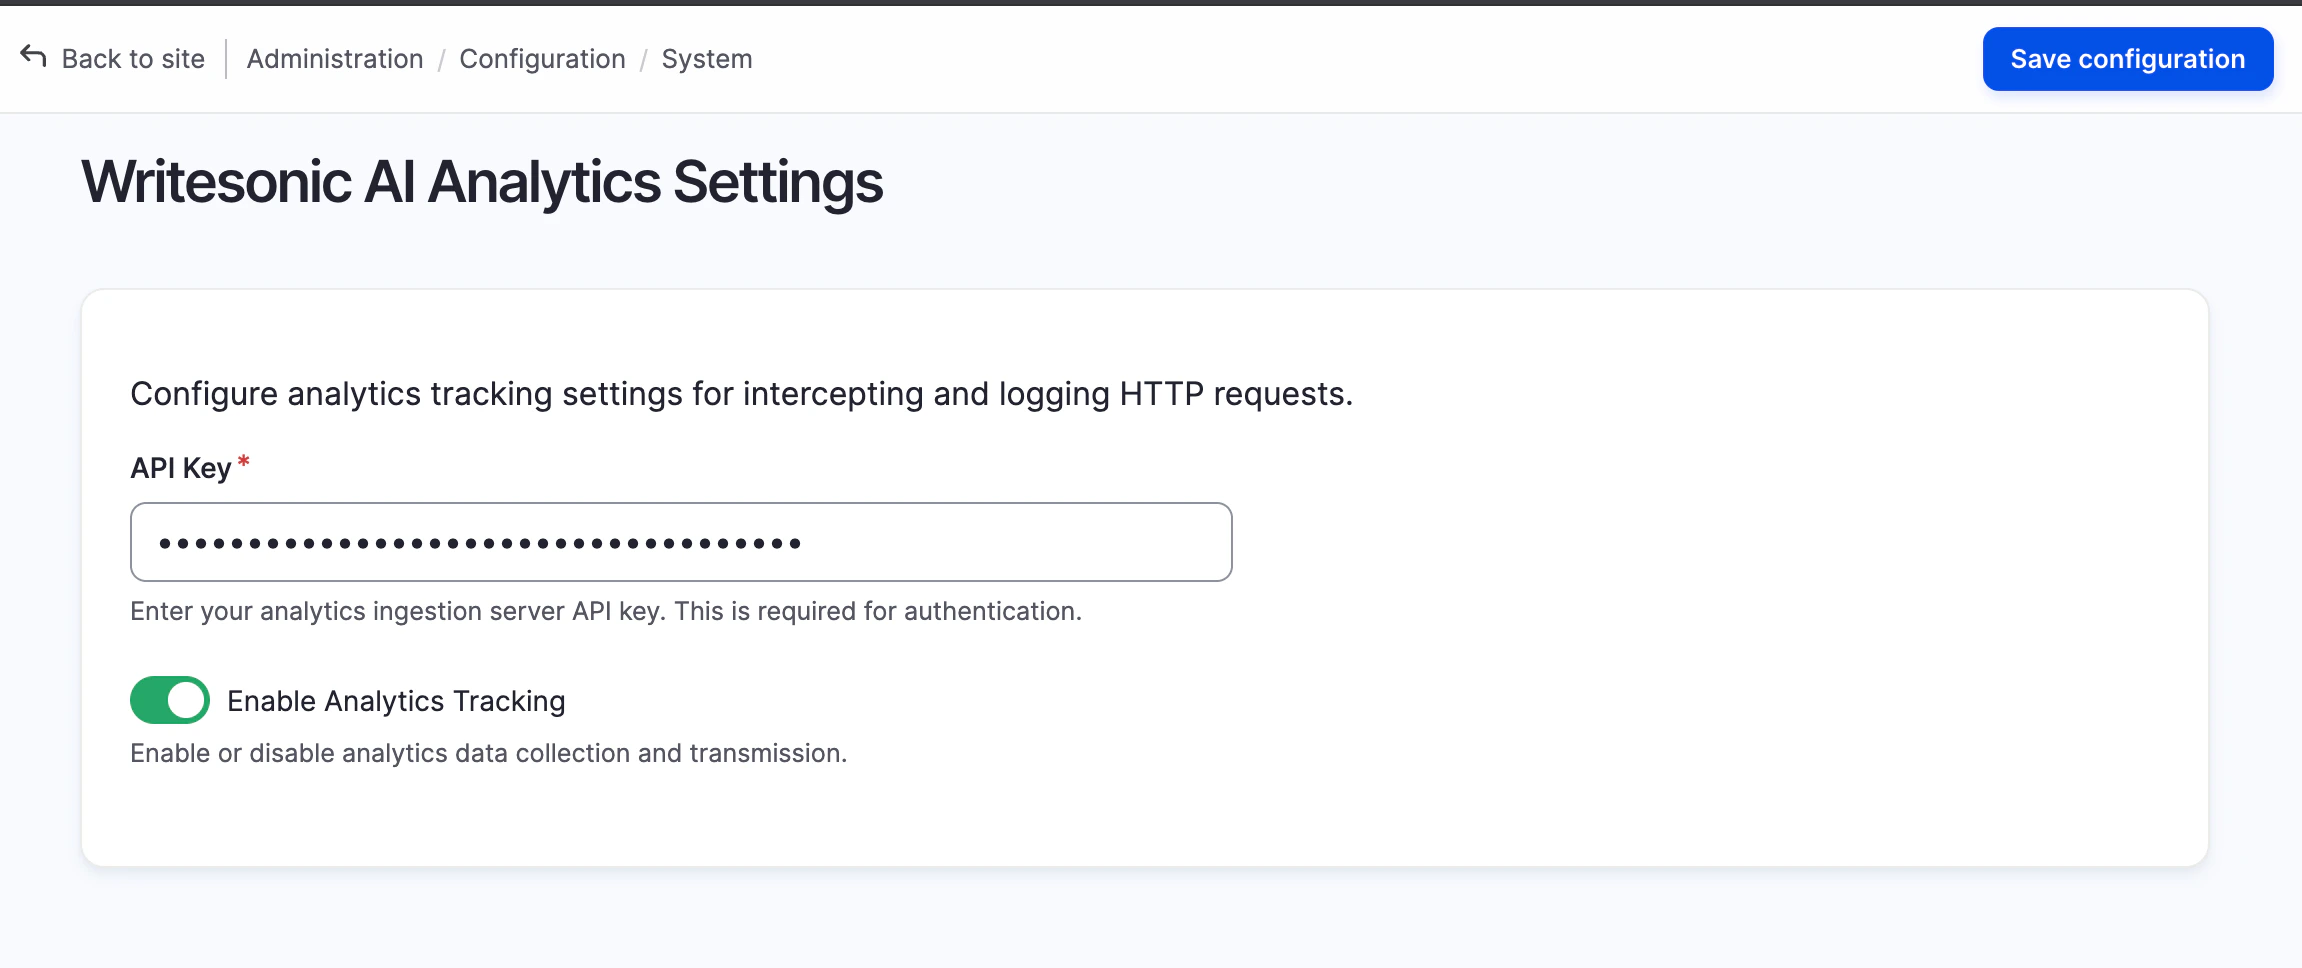
1. Navigate to **Configuration** > **System** > **Writesonic AI Analytics Settings** in your Drupal admin panel
2. Copy the API key provided by writesonic and paste it on the configuration page of your Drupal Website.
Alternatively, you can install it via Drush CLI:
```bash bash theme={"system"}
drush en writesonic_ai_analytics
```
## Phase 4: Configure the Module
1. Navigate to **Configuration** > **System** > **Writesonic AI Analytics Settings** in your Drupal admin panel
2. Copy the API key provided by writesonic and paste it on the configuration page of your Drupal Website.
 3. Click **"Save Configuration"** to finalize the setup
 > Do not disable the Analytics Tracking unless you want to actually pause analytics data collection
## Phase 5: Verify Installation in Writesonic
1. Return to Writesonic AI Bot Analytics page.
2. Click on **"Verify Integration"** to confirm that your Drupal site is properly connected
3. Once verified, you'll be redirected to your analytics dashboard. The process typically finishes in 1–2 minutes but may take up to 5 minutes.
## Troubleshooting
If you encounter any issues during setup:
* Ensure your API key is entered correctly
* Verify that your Drupal site is publicly accessible
* Check that the module is downloaded and is present in the `*/modules/contrib` directory.
* Make sure that Analytics data collection is not disabled in the **Configuration > System > Writesonic AI Analytics Settings** page
For assistance, contact [\[email protected\]](/cdn-cgi/l/email-protection#67141217170815132710150e13021408090e044904080a)
## Managing the integration
### Disabling Analytics Data Collection and Ingestion
1. If you want to disable the analytics data collection, navigate to the **System > Configuration > Writesonic AI Analytics Settings**
2. Disable the Analytics Tracking
3. Click on ‘**Save configuration**’ to save your changes
> Do not disable the Analytics Tracking unless you want to actually pause analytics data collection
## Phase 5: Verify Installation in Writesonic
1. Return to Writesonic AI Bot Analytics page.
2. Click on **"Verify Integration"** to confirm that your Drupal site is properly connected
3. Once verified, you'll be redirected to your analytics dashboard. The process typically finishes in 1–2 minutes but may take up to 5 minutes.
## Troubleshooting
If you encounter any issues during setup:
* Ensure your API key is entered correctly
* Verify that your Drupal site is publicly accessible
* Check that the module is downloaded and is present in the `*/modules/contrib` directory.
* Make sure that Analytics data collection is not disabled in the **Configuration > System > Writesonic AI Analytics Settings** page
For assistance, contact [\[email protected\]](/cdn-cgi/l/email-protection#67141217170815132710150e13021408090e044904080a)
## Managing the integration
### Disabling Analytics Data Collection and Ingestion
1. If you want to disable the analytics data collection, navigate to the **System > Configuration > Writesonic AI Analytics Settings**
2. Disable the Analytics Tracking
3. Click on ‘**Save configuration**’ to save your changes
 > This will pause the analytics data collection and ingestion from your drupal website to writesonic.
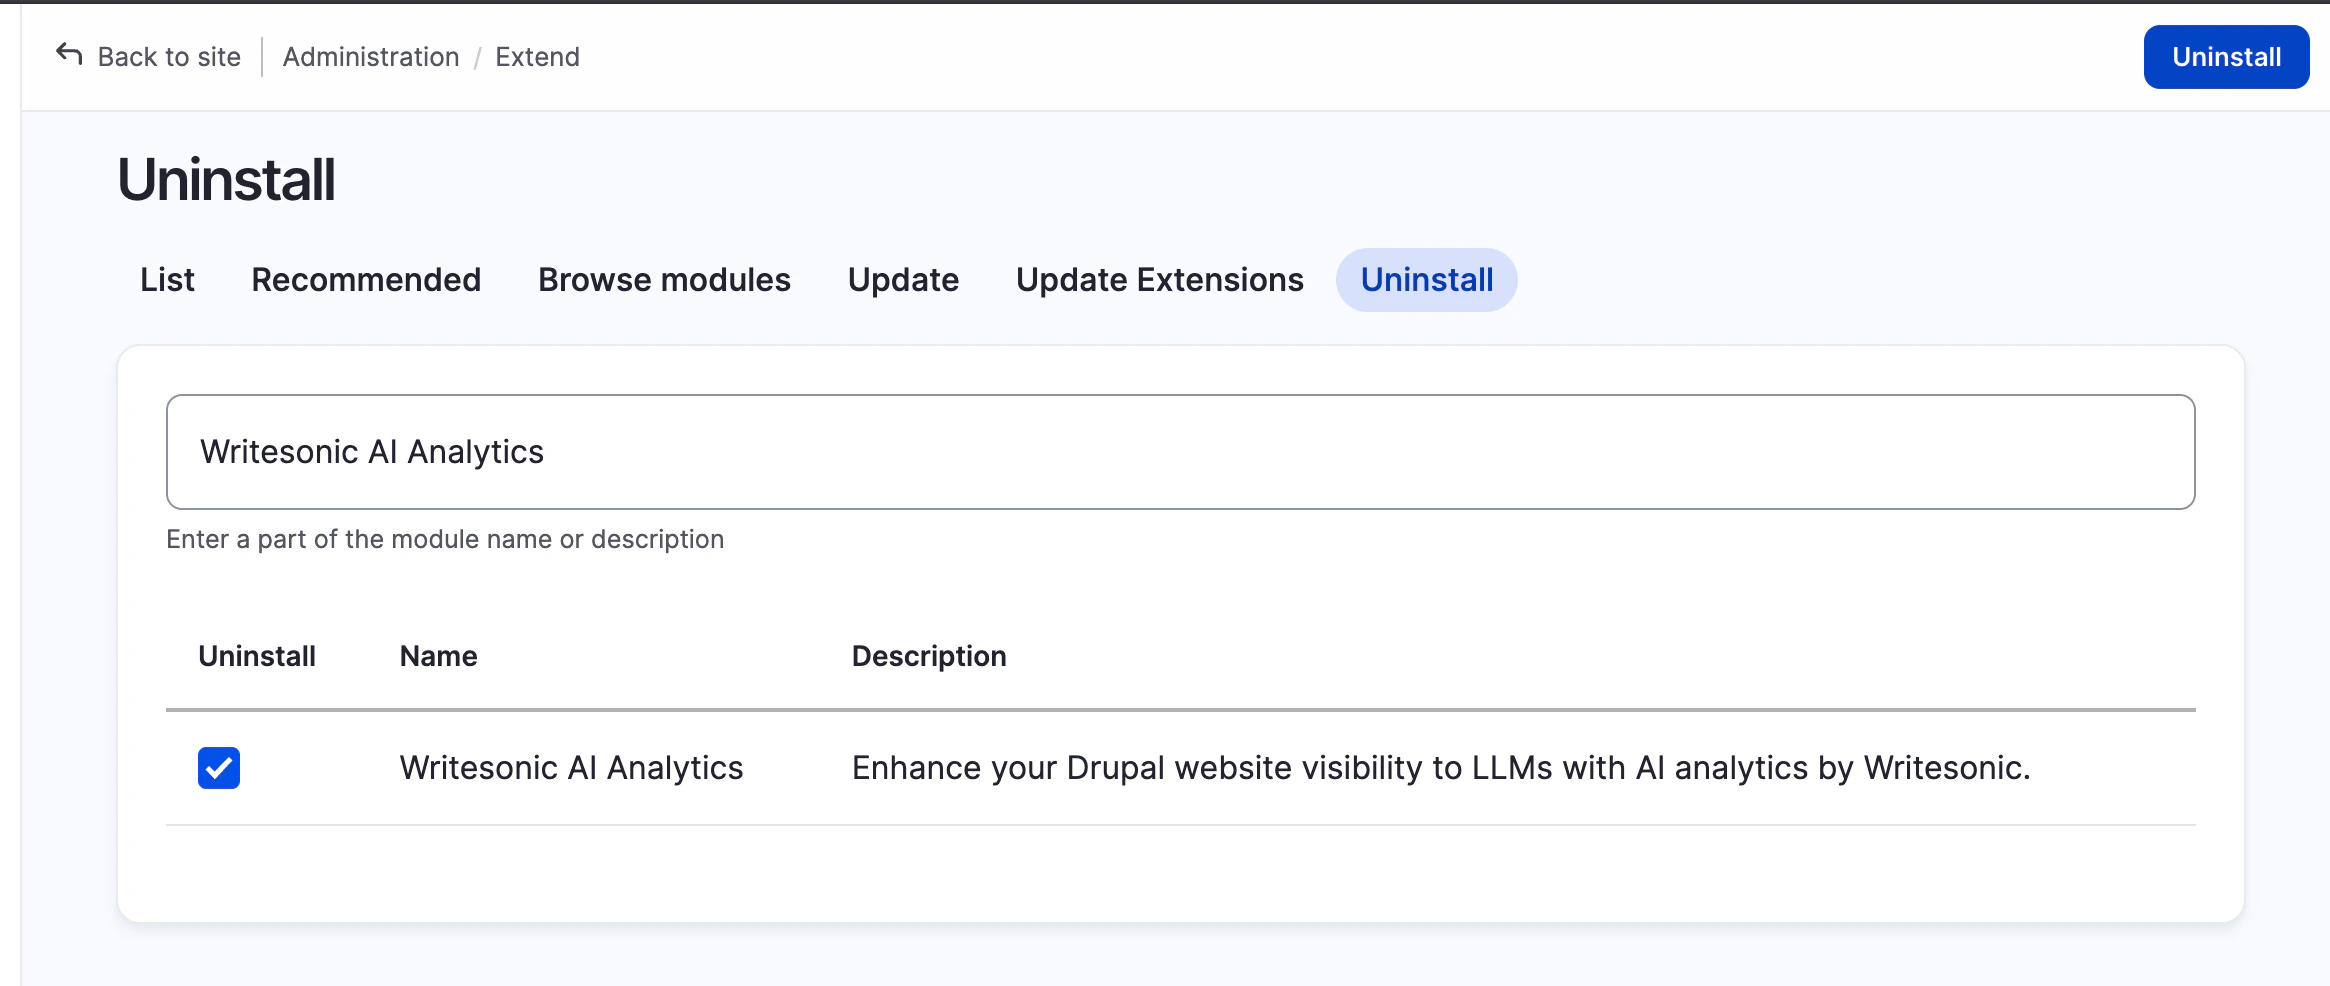
### Deleting/Uninstalling the Module
1. If you want to completely uninstall the module, you can navigate to **Extend** in your Drupal admin panel
2. Select the ‘Uninstall’ tab, and type ‘Writesonic AI Analytics’ in the search filter
> This will pause the analytics data collection and ingestion from your drupal website to writesonic.
### Deleting/Uninstalling the Module
1. If you want to completely uninstall the module, you can navigate to **Extend** in your Drupal admin panel
2. Select the ‘Uninstall’ tab, and type ‘Writesonic AI Analytics’ in the search filter
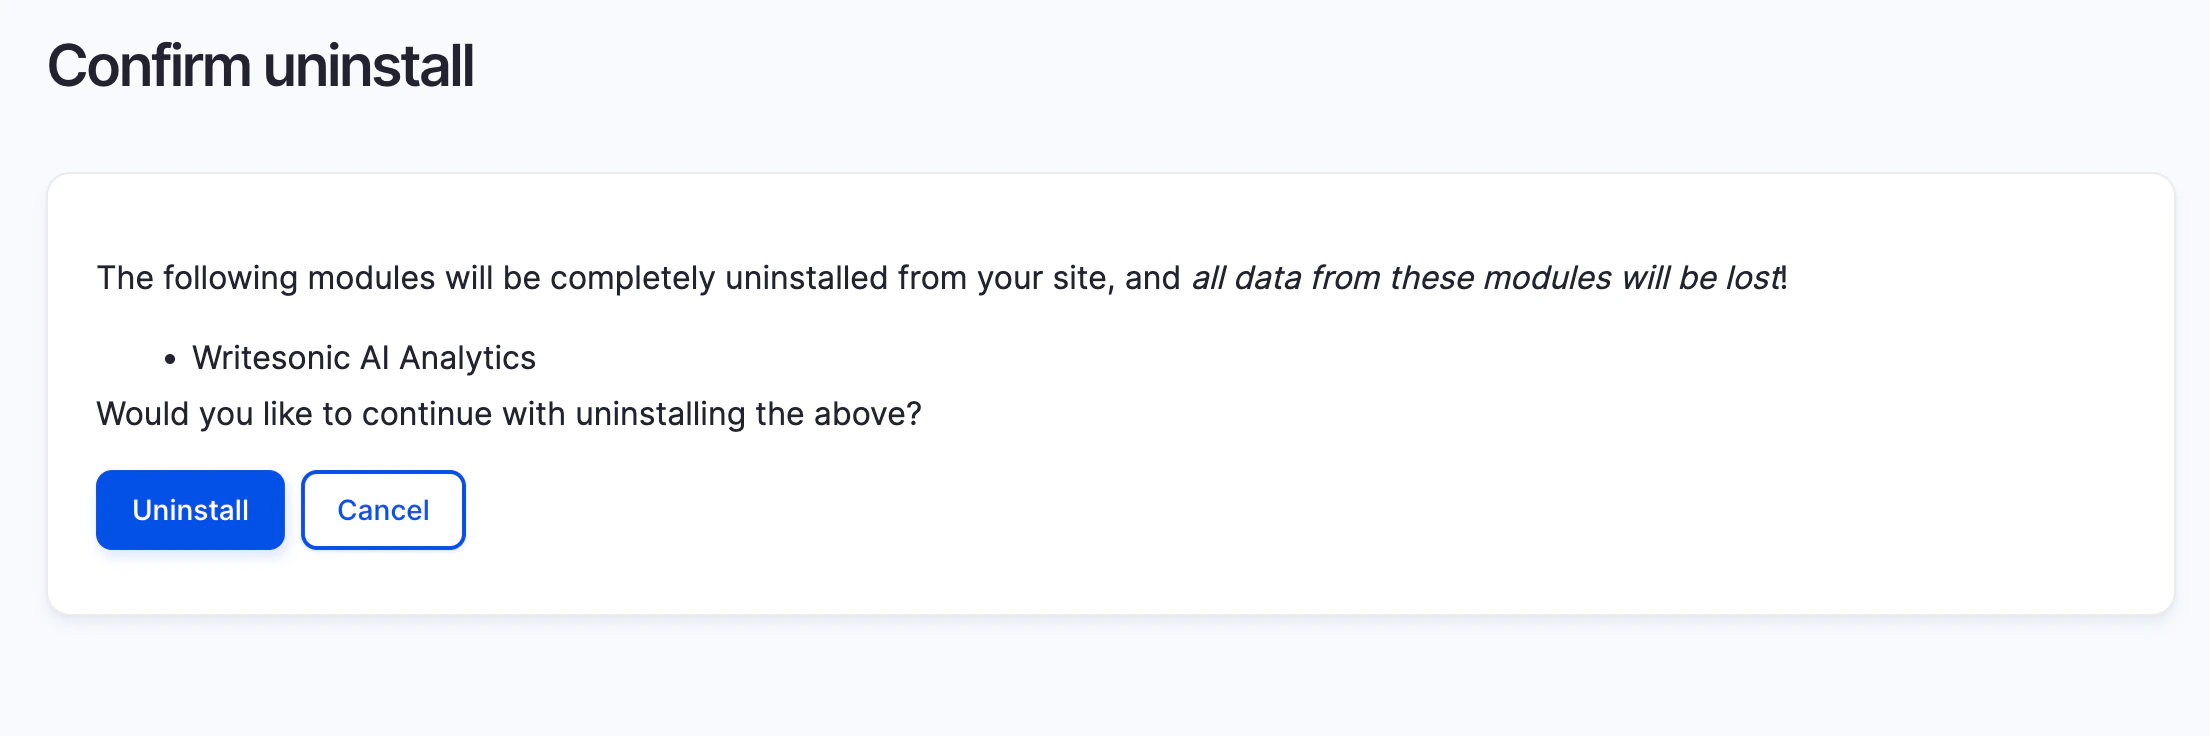
 3. Click on ‘Uninstall’ and confirm the uninstallation
 Alternatively, you can also uninstall the module via Drush CLI:
```bash bash theme={"system"}
drush pmu writesonic_ai_analytics
```
4. To completely remove the writesonic\_ai\_analytics module and it’s files from your drupal project, you can run `composer remove writesonic_ai_analytics`
***
[Integrating with Vercel Log Drains](/docs/integrating-with-vercel-log-drains)
[Integrating With Fastly Log Streaming](/docs/integrating-with-fastly-log-streaming)
Alternatively, you can also uninstall the module via Drush CLI:
```bash bash theme={"system"}
drush pmu writesonic_ai_analytics
```
4. To completely remove the writesonic\_ai\_analytics module and it’s files from your drupal project, you can run `composer remove writesonic_ai_analytics`
***
[Integrating with Vercel Log Drains](/docs/integrating-with-vercel-log-drains)
[Integrating With Fastly Log Streaming](/docs/integrating-with-fastly-log-streaming)